









Table of contents
- Key Takeaways
- Uniform Tech Pack Prerequisites
- Seven Steps at a Glance
- 1. One-Page Product Brief
- 2. Technical Flats
- 3. Measurements & Grading
- 4. Bill of Materials
- 5. Seam Construction
- 6. Quality & Packaging
- 7. Revisions & Handoff
- Troubleshooting
- Ask the Quality Manager
- FAQ About Uniform Tech Packs
- 1. What Is a Uniform Tech Pack?
- 2. How Long Does It Take to Build a Factory-Ready Uniform Tech Pack?
- 3. Which Pages Are Mandatory in a Uniform Tech Pack?
- 4. How Do I Stop Factories From Swapping Materials?
- 5. Can a Uniform Tech Pack Prove Flame-Retardant or High-Visibility Compliance?
- 6. Do I Still Need a Sample After the Pack Is Locked?
- 7. How Should Revisions and Supplier Handoff Be Handled?
- Sampling Next Step
Key Takeaways
- Control document first: the uniform tech pack exists to make a factory quote, sample and inspect without guessing. Presentation value is secondary.
- Seven pages carry the weight: the product brief, technical flats, measurement and grading table, bill of materials, construction notes, quality and packing rules, and the revision table.
- Tolerances decide pass or fail: a measurement without a tolerance cannot be rejected, so it cannot be enforced.
- Every blank row is a substitution risk: a bill of materials without weight tolerance, colour standard and trim approval status invites the factory to source to its own margin.
- Claims need an owner: flame-retardant, high-visibility and anti-static statements have to name a test path and a certificate holder before sampling.
- Hand off one PDF: one controlled document, one internal master and one comment log beat a folder of mixed versions.
Uniform Tech Pack Prerequisites: What the Factory Needs Before You Draft
The input list below has held across 40 workwear programs. Every item that went missing cost a full sampling cycle, either in rework or in waiting for information the factory could not invent.
Which Inputs Must Be Ready Before Drafting Starts?
- Target wearer, end use and target market.
- A locked size system, including the base sample size.
- Vector logo files in Adobe Illustrator or encapsulated PostScript format, never a PNG.
- A reference garment or an approved fit block.
- Brand standards, wash and care requirements, and current compliance claims.
Check fabric behaviour in our workwear fabric selection guide before the specification is written, because fibre and finish choices drive the bill of materials later.
Working tools are simple: a vector drawing program for flats, a spreadsheet or product lifecycle management system for specifications, sample review photos and a tested PDF export.
Ownership matters as much as tools. The technical designer owns the specifications, sourcing validates component availability, quality control validates the inspection criteria, and the approver signs the revision lock. No signature, no sampling.
⚠️ Safety warning: Never state a flame-retardant, high-visibility, anti-static, waterproof, antimicrobial or OEKO-TEX claim unless the requirement, test path and certificate owner are defined. Verify the standard first, such as ISO 13688 for general protective clothing requirements.
🧠 Author's Take: Last quarter, a Texas oil-field service company sent flame-retardant coveralls to audit with nobody named as the certificate owner. The claim failed even though the garment passed its physical tests. The claim owner is now locked at the revision gate, before sampling starts.
Seven Steps From a Blank Sheet to a Locked Uniform Tech Pack
The build runs in seven sequential steps, and the order is not negotiable. Each step produces one page the factory signs off on, and every later page is written against the terms set earlier, so a correction at step five costs more once step three has been approved.
Work through them in order and keep each page in the same document from the start. That way the last step only locks what the first six established, rather than reconciling a folder of drafts.
Step 1: Write the One-Page Product Brief That Anchors the Uniform Tech Pack
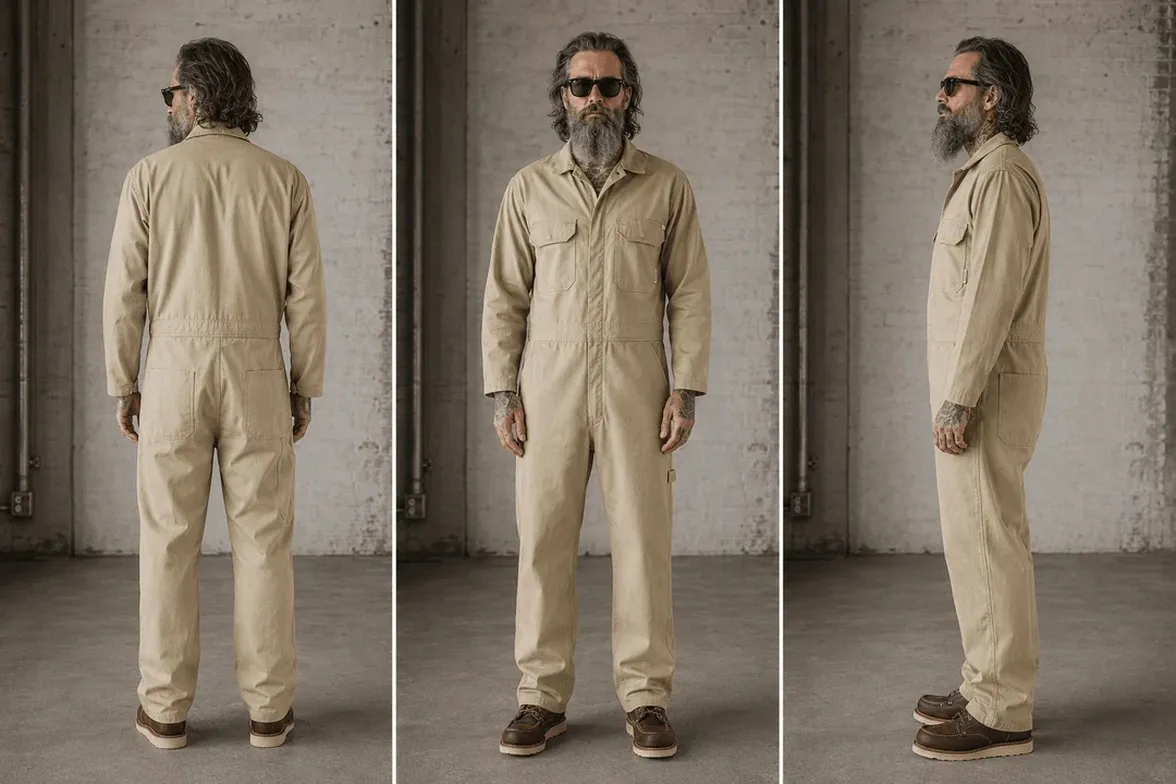
In our setup, this page takes 45 minutes, not the five minutes most buyers budget. Start a fresh sheet, name it Product Brief, and treat it as the spine of the pack. Every later page has to match it.
Which Fields Belong on the Product Brief?
- Category: pick one exact category, such as workwear, medical, school, hospitality, security, flame-retardant, high-visibility, anti-static or corporate. Do not write "industrial coverall." Write "flame-retardant coverall, oil and gas, mid-weight, industrial laundered."
- Use and abuse: record indoor or outdoor exposure, abrasion points, heat, chemical splash, stain load, wash cycle count and logo wash durability. I always ask for the wash method, because industrial laundering breaks more uniforms than the job site does.
- Market and sizes: name the size system, whether United States, European Union, Asian or a dual conversion, and write the size break including extended sizes.
- Fit in operational language: convert "comfortable" into mobility allowance, layering room, gender block and gusset needs. A factory cannot cut "modern fit."
- Claims: map flame-retardant, high-visibility, anti-static and waterproof claims to the target market now, before a fabric is chosen.
A strong brief lets a sourcing manager name the fabric class, closure type and wash risk in one scan. If it cannot do that, it is still too vague to quote.
What Should You Do When the Buyer Only Sends a Sample Garment?
Reverse-engineer the brief from the sample first. Measure it, wash it, then draw the flats. Skipping the wash hides the shrinkage and colour change that tell you more about the original specification than the label does.
⚠️ Experience Warning: A client once sent a brief reading "heavy-duty coverall." The quote came back in 240 GSM poly-cotton. The site required flame-retardant fabric, so three weeks disappeared before a sample was cut.
🧠 Author's Take: Keep this page under 400 words. Long briefs get skimmed, and skimmed briefs get misquoted.
Step 2: Draw Production-Ready Flats for Every Uniform Detail

These pages get printed at A4 and pinned beside the cutting table. They are working drawings, not presentation art.
Draw front, back and side flats for the approved silhouette, and keep the outlines clean at 100 percent zoom. Add enlarged callouts for every non-obvious area: pockets, collar, cuff, placket, reflective tape, vents, knee-pad openings, elastic zones and reinforcement panels.
Number each callout and match the number to the bill of materials and the construction notes. Name parts by position, not colour. Write "left chest patch pocket opening," never "green mark." That keeps multilingual teams and screen readers aligned.
Add separate colourway and logo placement pages. Record position measurements, decoration method and maximum logo dimensions. On high-visibility or flame-retardant garments, draw reflective tape placement and grading logic, because a size break must never shift a compliance-critical layout.
Which Visual Method Holds Up on a Factory Floor?
Vector flats are the primary method. Photo markup from an existing sample is the alternative, but redraw those marks into clean technical flats before factory release. A phone photo with arrows is a note to yourself, not a specification.
Validation is simple. Print the page at A4. At 100 percent zoom, every outline should stay crisp, every callout number should be readable, and nobody should have to guess a pocket or trim position.
🧠 Author's Take: I reject any flat that needs a verbal explanation. If the factory calls to ask where the tape sits, the page failed.
Step 3: Build the Point-of-Measure Table and Grading Rules
This sheet is built before the first sample. I have seen one ambiguous point of measure cause a 2 cm error that rejected an entire 500-piece order.
Name the tab Measurement Spec. Set the base sample size, usually M or L, and state the unit once, in centimetres or inches. Never mix units inside one pack.
Build rows for workwear: chest, waist, hip, shoulder, sleeve length, bicep, body length, rise, inseam, outseam, thigh, knee, bottom opening and any protective coverage dimension such as reflective tape height or a flame-retardant gap.
Add two columns to every row. Convention says whether the measurement is taken laid flat or as a full circumference. Tolerance sets the limit, for example chest plus or minus 1.5 cm and sleeve plus or minus 0.5 cm.
Tolerance is what makes a sample fail or pass. Without it, a quality inspector cannot reject a sample in language that survives a supplier dispute.
How Do You Write Grading Rules a Factory Can Cut From?
List the grade increment for each size step and note where a unisex block diverges. Add mobility ease and layering allowance for industrial clothing, because a graded coverall that ignores layering is a size chart, not a garment.
Then recheck the smallest size. Surface area shrinks faster than trim does, so a size S high-visibility vest can drop below the reflective and fluorescent area its class requires. Measure the smallest size against the reflective tape standards before you approve the grade.
| Size | Chest (cm) | Grade Step | Tolerance |
|---|---|---|---|
| S | 105 | 5 cm below base | ±1.5 cm |
| M (base) | 110 | Base | ±1.5 cm |
| L | 115 | 5 cm above base | ±1.5 cm |
| XL | 120 | 5 cm above L | ±1.5 cm |
The primary method is a spreadsheet table. A grading export from a product lifecycle management system is the alternative. Either way, the published PDF has to stay human-readable, with no tiny fonts and no truncated columns.
Validation: a quality inspector should place the tape on the seam landmark without asking you where it is. Hesitation means the point-of-measure description is unclear.
⚠️ Experience Warning: "Oversized" and "relaxed" are not measurements. A factory cannot cut "relaxed." Write the number, the convention and the tolerance, or the sample will be cut to someone else's idea of relaxed.
🧠 Author's Take: I once received a spec that said "chest: relaxed fit." The sample came back 8 cm too small. Any point of measure without a number and a convention now goes straight back to the designer.
Step 4: Lock the Bill of Materials Before the Factory Sources Anything
The bill of materials is where factories swap parts without asking, because every blank field reads as permission. Open a tab named BOM and give every part its own row.
Fabric rows cover the main shell, contrast fabric, reinforcement fabric, lining and interlining. Write fibre content, weight in grams per square metre with a tolerance such as 240 GSM plus or minus 5 percent, weave or knit type, colour standard such as Pantone TCX, finish, functional requirement and placement.
Trim and hardware rows cover sewing thread, zipper, snap, button, hook-and-loop, reflective tape, elastic and waterproof seam tape.
For each row, add supplier preference or approved equivalent, dimensions, finish, gauge, brand requirement, puller type and placement. Workwear adds flame-retardant thread, heavy-duty zippers, reinforcement fabric and a certified reflective tape class.
Label and packaging rows cover content, care, size, brand, barcode and country-of-origin labels, plus hangtags and packaging, each with content, placement and approval status.
Run a finger down the page. Every row needs a part name, material specification, colour or finish, unit, placement and approval status. No blank cells.
Compare a generic fashion row against a factory-ready workwear row. "Navy cotton, 180 GSM, zipper, reflective tape" invites substitution. "240 GSM plus or minus 5 percent, 3/1 twill, flame-retardant finish, number 10 metal zipper, EN ISO 20471 Class 2 tape" leaves nothing to interpret.
Validation: the factory can quote every row without calling you. If any field is blank, stop and fill it.
🧠 Author's Take: A bill of materials with blank fields is not a spec. It is an invitation to substitute. I reject every one that lacks a weight tolerance and a trim approval status.
Step 5: Specify Seam Architecture by Zone, Not by Sketch Arrow
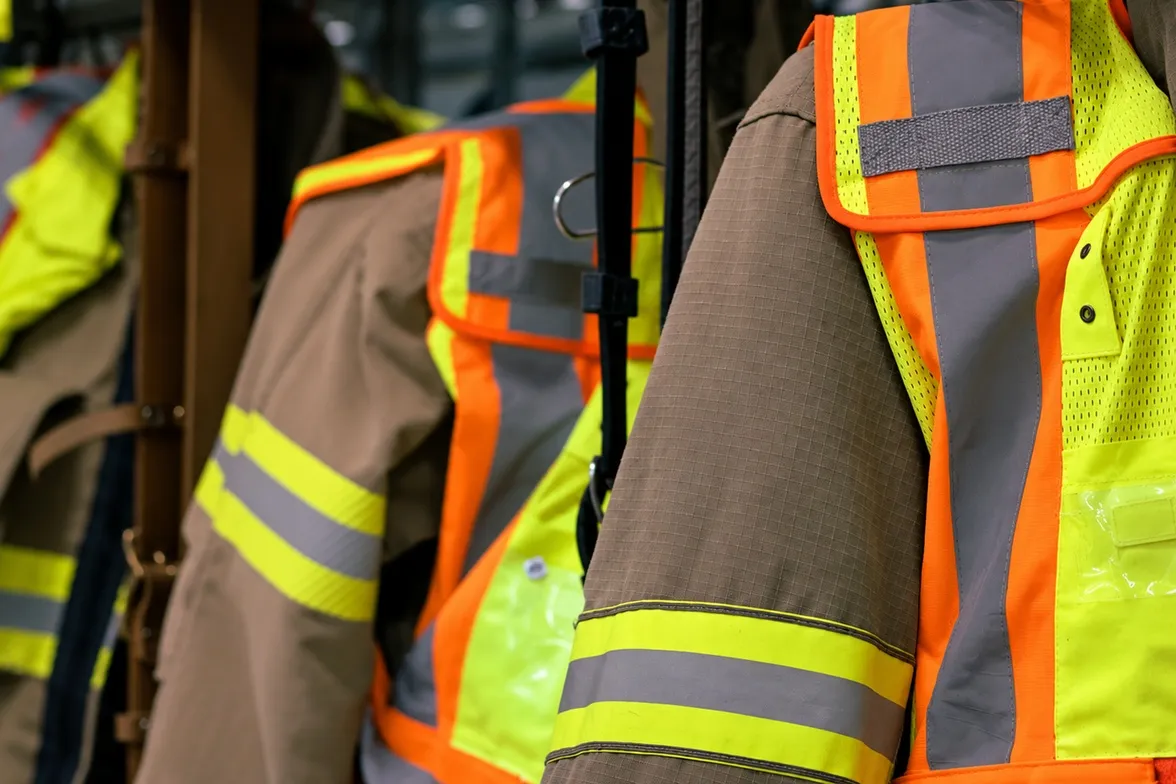
Treat the construction tab as the garment's survival map, not sewing commentary. On a taped waterproof shell, a 1 mm seam allowance error is enough to fail the spray test.
Use ISO-style seam language and anchor each call to ISO 4916 stitch and seam classifications. For each zone, record seam type, stitch class, stitches per inch, seam allowance, overedge requirement and whether the seam is visible or enclosed.
Cover the side seam, inseam, armhole, yoke, collar stand, crotch, hem, waistband, placket and pocket opening.
Mark every reinforcement: bartacks, rivets where allowed, patch reinforcements, double knees, gussets, tape-sealed zones and backstitching at stress points.
Waterproof shells need every seam in the protection zone taped. Flame-retardant garments need flame-retardant thread and no unapproved rivets. High-visibility garments should not be stitched through reflective tape outside the approved pattern.
A usable seam callout reads like this: side seam, flat-felled, 301 lockstitch, 12 stitches per inch plus or minus 1, 1.0 cm seam allowance, visible double topstitch, 1.5 cm backstitch at the ends. It leaves no room for a different interpretation on a different shift.
Validation: a factory can sew the sample without asking where a seam or a bartack sits. If they call, the callout failed.
⚠️ Experience Warning: We tested waterproof jackets for a crew working outdoors in Seattle. The factory used a 1.0 cm seam allowance on taped seams, the tape missed the stitch line by 2 mm, and 18 of 20 jackets failed the spray test. Tape width and seam allowance now share one callout.
🧠 Author's Take: If a seam callout needs a phone call to make sense, rewrite it. The sample will be sewn by whoever reads the page, not by whoever wrote it.
Step 6: Add Quality, Labeling and Packaging Pages to the Uniform Tech Pack
Open a tab named Quality and Packing. In our audits, this is where approved samples drift from bulk production.
Write unit packing, fold method, polybag rules, carton ratios, carton marks, barcode placement and retail or replenishment labeling as line items.
Add care label content and wash symbols that match the actual fabric and finish claims, because a care label that promises less than the fabric delivers is a returned pallet waiting to happen.
Write the test standard into the pack: AQL level, colourfastness, shrinkage, seam strength, tensile strength where relevant, reflective durability and laundering expectations. Cite the exact method, such as colourfastness to washing under ISO 105-C06.
Use our AQL 2.5 inspection guide as the inspection baseline, and check fabric claims against the workwear fabric selection guide. Industrial uniforms need this level of detail because commercial laundry, repeated wear and compliance audits are harsher than fashion use.
If the buyer already has a quality manual, reference it by version number inside the pack instead of duplicating it inconsistently. Lock labels, packing and inspection terms across the English and supplier-language documents.
Validation: the page reads like a pre-shipment checklist. Quality control can pull, measure, wash and reject without debating what "acceptable" means.
⚠️ Experience Warning: On a hospital scrub program, the factory packed by colour instead of carton ratio. The buyer rejected two pallets at pre-shipment, and the replacement shipment missed the ward opening date.
Step 7: Control Revisions and Hand Off One Locked Uniform Tech Pack
Open the master file and create a Revision Table tab with five columns: version, date, owner, change summary and approval status. Every edit gets a row. Skipping the table is how a factory ends up sewing from an outdated page.
Send the pack for cross-functional review. Technical design checks the specifications, sourcing checks component availability, quality control checks inspection logic, and the stakeholder approves the commercial requirements. No signature, no lock.
Lock the pack after two events. The sample comments must be incorporated, and the approved sample must be signed off. Before that, the pack stays draft. An early lock once sent 200 metres of fabric through the line against a page that changed a week later.
Then transfer control. Send three files: one controlled PDF, one editable internal master and one comment log. The PDF is the single source of truth, the master stays internal, and the comment log tracks open questions. A PDF alone invites version drift.
What Does an Automated Tech Pack Release Look Like?
Structured data feeds custom HTML and CSS layouts, and a script built with Python and WeasyPrint generates the standardized PDF. That removes manual entry errors and keeps every factory page consistent.
The alternative, a manual export, still works, but every copy step creates another chance for one cell to fall out of sync.
Validation: print the PDF at A4. Every callout is legible, no measurement cell wraps, and the version and date appear on every page. A factory worker should be able to read it without zooming.
⚠️ Experience Warning: Last month, a supplier worked from a stale PDF because the comment log stayed in a separate email thread. Four days of production went to a page that had already been replaced.
🚀 Actionable Insight: Add a checksum or file hash to the PDF footer. It proves the factory opened the latest version, and it settles the argument about which file was on the line.
🧠 Author's Take: If you cannot send one controlled PDF and one comment log, you are not ready to hand off. The uniform tech pack components guide covers the page structure, and the team can review your draft through our contact page.
Uniform Tech Pack Troubleshooting: Four Failures I See Every Quarter
If it is not written down, the factory guesses. The failures below repeat often enough to predict. Fix the document, not the supplier.
Why Does the First Sample Fit "Close" but Measure Wrong?
Problem: the chest is 2 cm off and the factory followed comments such as "relaxed." Why: the pack carries no numeric points of measure, tolerances or grade rules.
Fix: add a measurement table with tolerance and grade, write "chest 110 cm plus or minus 1.5 cm," and recheck the smallest size before the second sample is cut.
Why Do Stress Points Fail During Inspection?
Problem: bartacks pull out, seams burst or tape lifts after washing. Why: the pack omitted thread, stitch density, seam class or bartack placement.
Fix: specify the seam, stitch density, thread and bartack location for every stress zone, then verify burst strength against ISO 13934-1. Mark pocket corners and the crotch.
Why Does Bulk Fabric or Colour Drift From the Sample?
Problem: the bulk fabric feels lighter or the colour drifts from the swatch. Why: the bill of materials omitted weight tolerance, finish, colour standard, approved trim equivalents or care-label logic.
Fix: complete every row with a weight tolerance of plus or minus 5 percent, finish, Pantone reference, approved equivalents and care symbols.
Why Does Compliance Drift After Grading?
Problem: a size S high-visibility vest fails its reflective area requirement. Why: nobody rechecked small sizes after grading.
Fix: remeasure the smallest size for reflective area, tape height and spacing, confirm against ANSI/ISEA 107 or EN ISO 20471, update the measurement table, then run the AQL 2.5 inspection.
Ask the Quality Manager: Which Omissions Sink a Uniform Tech Pack at AQL 2.5 Inspection?
Liu runs quality control on our uniform lines, and he sees the same three omissions at final inspection. Missing stress-point thread specifications come first, because factories use whatever thread is on the floor.
Missing tolerances come next, since an inspector cannot reject a bad seam that has no range. Then incomplete label and test instructions, which is how a compliance issue reaches the buyer instead of stopping on the line.
His answer points back to the same principle. The pack left room to guess. A factory almost never improves a vague spec, but a clear spec cuts rework roughly in half on the next run.
Frequently Asked Questions About Uniform Tech Packs
These are the questions sourcing teams raise most often before they approve a workwear program.
1. What Is a Uniform Tech Pack?
A uniform tech pack is the factory control document for a workwear program. It defines the brief, technical flats, points of measure, bill of materials, construction, quality rules, labels, packaging and revision history.
Factories quote faster and sample more accurately when the pack is one controlled PDF rather than a folder of emails.
2. How Long Does It Take to Build a Factory-Ready Uniform Tech Pack?
Plan two to three weeks for a complete pack. Drafting takes a few hours, review takes about a day, and the remainder is sampling and comment rounds. Teams compress this to about a week only when the brief, size system and logo files are already locked. Rushed packs cost more in sampling than they save in drafting.
3. Which Pages Are Mandatory in a Uniform Tech Pack?
At minimum: a one-page brief, vector flats with numbered callouts, a measurement and grading table, a closed bill of materials, construction notes, quality and packing rules, and a revision table.
In my last 40 reviews, missing tolerances caused the most sample rejections, so the measurement page carries the most weight.
4. How Do I Stop Factories From Swapping Materials?
Give every row a number and an approval status. Add weight tolerance, colour standard, trim brand or approved equivalent, and certification class.
On one high-visibility order, "reflective tape" became uncertified tape. The row now reads "EN ISO 20471 Class 2 tape, 50 mm," and blank rows are rejected before the pack is released.
5. Can a Uniform Tech Pack Prove Flame-Retardant or High-Visibility Compliance?
No. A tech pack controls the build, but it does not replace test reports or certificates. Map each claim to its standard, test method and certificate owner.
For high-visibility garments, verify tape area on the smallest graded size against ANSI/ISEA 107 or EN ISO 20471. For flame-retardant garments, name the certificate holder before sampling.
6. Do I Still Need a Sample After the Pack Is Locked?
Yes. The pack makes sample review objective, but it does not replace the sample. Check the sample against the measurement tolerances and construction notes, mark pass or fail, update the revision log, then lock the approved version.
Bulk approval from a pack alone is how an untested change reaches a full production run.
7. How Should Revisions and Supplier Handoff Be Handled?
Use one revision table with version, date, owner, change summary and approval status. Send one controlled PDF, one internal master and one comment log. Mixed files cause more delays than bad sewing, because the factory cannot tell which page is current. Lock only after the approved sample is signed.
Next Step: Send the Uniform Tech Pack for Sampling
Every page in this workflow answers one question: can the factory move from quote to sample to inspection using only the document? Any page that leaves a gap breaks that chain.
Send the pack for sample, review the sample against the measurement tolerances and construction notes, update the revision log, then lock the approved version for production and repeat orders.
For help turning rough ideas into supplier-ready documents, reach the team through the contact page. Drawings, logo files and program details stay confidential. A good tech pack does not replace sampling, but it makes every correction objective and traceable.

Fitness & Outdoor Wear Manufacturer
- 2,000+
- Clients Served
- 99.2%
- On-Time Delivery
- 2011
- Manufacturing Since